Locust: The Ultimate Guide to Installation and Configuration for Load Testing
Locust is a powerful and flexible tool for performance and load testing in web applications. This guide will help you set up your environment in a simple and efficient way.
Prerequisites: Preparing the Development Environment
Installing Python
Before getting started, it is essential to have Python installed on your machine.
Installation on Windows
To install Python on Windows, follow these steps:
- First, visit the official Python website (python.org).
- Then, download the latest version (we recommend Python 3.8 or later).
- During installation, make sure to check two important options:
- “Add Python to PATH”
- “Install pip”
- Finally, click on “Install Now” to complete the process.
Installation on Linux (Ubuntu/Debian)
On Linux, use the following commands:
# Update repositories
sudo apt update

# Install Python and necessary tools
sudo apt install python3 python3-pip python3-venv -y
Installation on Mac
If you are using macOS, you can install Python via Homebrew:
# Install Homebrew (if not already installed)
/bin/bash -c "$(curl -fsSL https://raw.githubusercontent.com/Homebrew/install/HEAD/install.sh)"

# Install Python
brew install python
Verifying Python Installation
After installation, it is important to verify that everything was set up correctly:
# Check Python version
python3 --version

# Check pip version
pip3 --version
Creating a Virtual Environment
Why Use a Virtual Environment?
Using virtual environments is a best practice because it allows you to:
- Isolate project dependencies
- Avoid conflicts between libraries
- Keep your development environment clean
Creating the Virtual Environment
To create a virtual environment, run the following command:
# Create a virtual environment
# You can choose any name, e.g., performance-env or load-testing-env
python3 -m venv your-environment-name
Then, activate the environment:
# Activate on Linux/Mac
source your-environment-name/bin/activate

# Activate on Windows
your-environment-name\Scripts\activate
💡 Pro Tip: Use meaningful names for your virtual environments, such as locust-performance-env or api-load-testing-env.
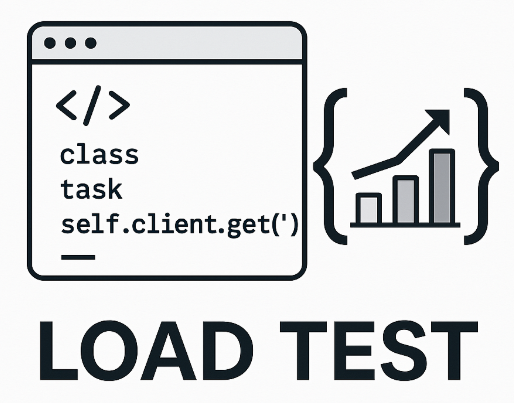
Installing Locust
After activating the virtual environment, you can now install Locust:
# Install via pip
pip install locust
Verifying Locust Installation
To ensure that Locust was installed successfully, simply run:
locust --versionInitial Configuration
Recommended Directory Structure
To keep your project organized, consider using the following structure:
my-locust-project/
│
├── venv/        # Virtual environment
├── tests/              # Test scripts
│   └── main.py         # Main test script
└── requirements.txt    # Project dependencies
Creating a Requirements File
To make dependency management easier, generate a requirements.txt file:
# Generate requirements.txt
pip freeze > requirements.txt
Best Practices
To ensure efficiency and maintainability, follow these best practices:
- Always use virtual environments
- Keep your dependencies up to date
- Use version control (Git)
- Document your configurations properly
Conclusion
At this point, you now have a fully configured environment for running load tests with Locust. In our next article, we will cover how to execute tests effectively.
Next Steps:
- Prepare test scripts
- Configure load scenarios
- Run performance tests
By following these steps, you will be well on your way to mastering load testing with Locust. 🚀